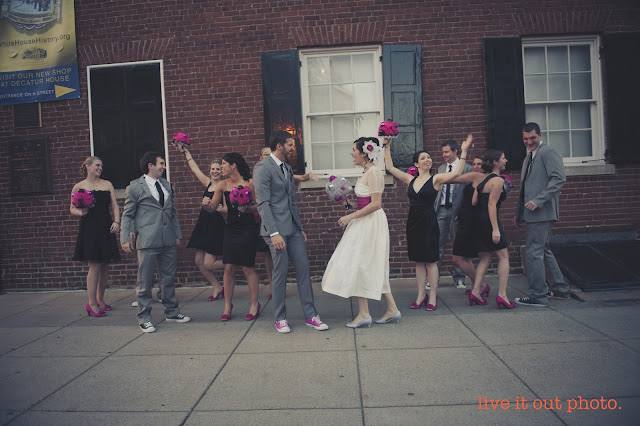
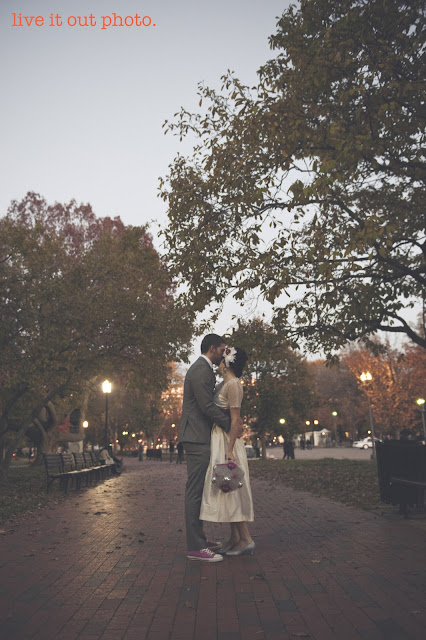
For those of you that came to the Nonconforming Bridal Fair, you might have already gotten a copy of my tutorial on how to make your own DIY Christmas Ornament & Tulle Bouquet(s).
For those that didn’t, here it is…
How to Make Your Own:
DIY Christmas Ornament & Tulle Bouquet(s)
Materials:
- 5” diameter round Styrofoam ball (or 4” for bridesmaid bouquet)
- Plastic floral holder and handle (available at Micheal’s or other crafts stores)

- Lots and lots of tulle: cut into 4” squares
- Floral pins
- Christmas balls (colors, size, and amount can vary) – we used 9 per bouquet
- Glue gun & glue
- Ribbon
Directions:
1. Glue the Styrofoam ball to the holder.
2. Plan the arrangement of your ornaments on the Styrofoam ball, and mark with a small dot where you glue them. (*Tip*: The more ornaments you use, the less tulle you will need!)
3. Put hot glue onto the hanger of the Christmas ball and then push into the Styrofoam. (*Tip*: you could also add some more glue around the ball, once it is pushed into the Styrofoam, in order to secure the ball)
4. After the balls are secure, take 2 of the tulle squares and pushing them into Styrofoam using the floral pins to secure the tulle.
5. Start at the bottom and work the tulle in a circular pattern around the base of the plastic floral holder
6. Fill the Styrofoam ball in entirely with the tulle. (approx. 300-400 squares)
7. Finish the bouquet off by wrapping ribbon around the plastic handle. You may also have to trim the tulle once it is all in place.
And now for more shots of our offbeat DIY bouquets in action:

Click inside to see more …


12 comments
So we made these (2 of 7) tonight with a few of my own twists. You should include the multiple bottles of wine that are necessary while making these to the supplies list. :-) They look great though!!! Thanks for the wonderful idea!
Can I ask a silly question, but do you pin the tulle in the middle of the square or do you squash it together in some way. Think I am doing it wrong somehow :(
Hi Wendy! Yes – just push the pin in at the center of the square. Once you have a lot more pinned next to eachother, the pieces will “stand out” if that makes sense. Email me if you have more questions!
How can I please email you please x