Remember last week’s DIY Wednesday, when I posted Part 1 of Katie & Andy’s ah-maznig DIY Travel-Themed Virginia wedding!?
Well, Part 2 was supposed to be today … but I didn’t have as much time this weekend as I thought, to write it up, so I thought I would share Katie’s DIY Travel Themed Wedding Invitations instead!
Katie sent me the entire story & details of how she made these awesome DIY wedding invites, from the beginning of her inspiration search, to the final production details! Check it out!
From Katie:
Due to the time constraints of our wedding, we opted to have a professional design our Save the Dates. I found Sunshine and Ravioli on Etsy and fell in love with her work.
After a few emails, I knew I wanted Stephanie to design our STDs. Her shop specializes in ‘vintage inspired wedding paper goodness’. She was also able to create vintage return address stickers, which added another personalized touch to our STD’s.
After we sent out the STD, I began searching for the perfect invitation suite. However, I was not very happy with the invitations I was finding, including the large pricetag attached to them all. We really wanted our wedding to be ‘our wedding’, so we decided that we would make our own invitations.
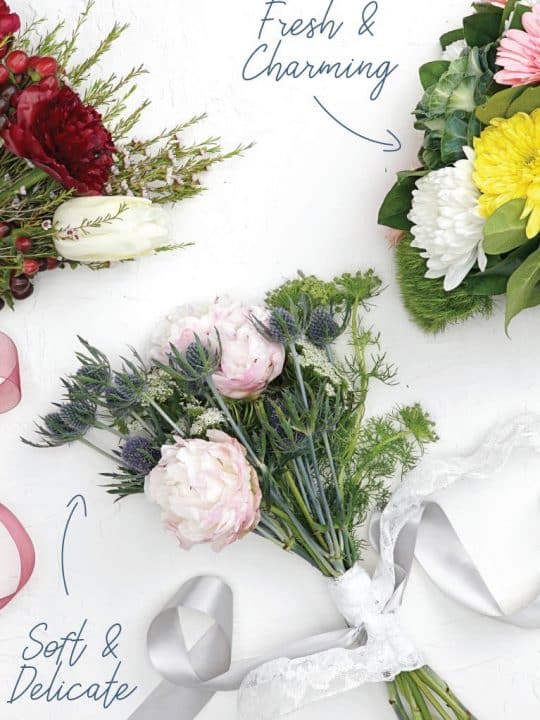
So, I started the inspiration hunt and selected these images:
[color scheme inspiration]
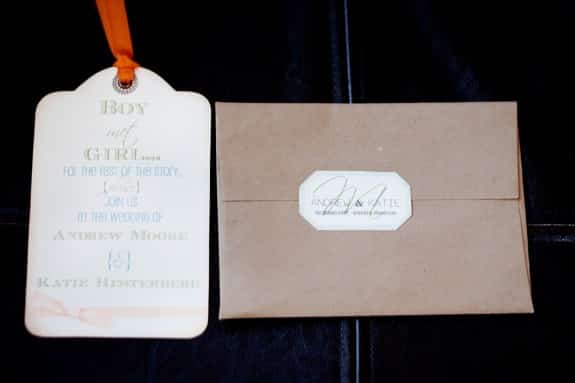
[save the date inspiration]
Then I began hunting for paper and envelopes that were reasonably priced and good quality. I ended up ordering all my envelopes from Paper Presentation online. They have a very large selection of paper goodness and their online store was super easy to navigate.
[The NO 10 envelope in Blue Feather and the glassline envelope]
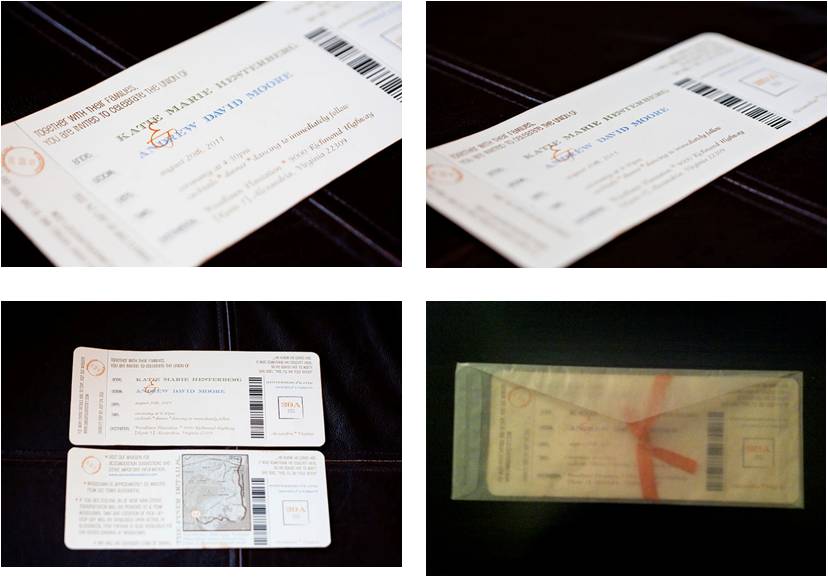
I designed the vintage inspired boarding pass invitation using InDesign, which I already had installed on my computer. I managed to squeeze 3 invitations per page, which also helped reduce the costs both in printing and paper.
Next I used the same template to create ‘the finer details’ page, which included a bit more information about our wedding. Ultimately, all the information could be found on our website.
NOTE: To create the vintage looking map, I took a snapshot on Google maps, inserted the map into Photoshop and added the vintage look.
After printing a test page at home (to verify colors and font sizing), I took the invitations to Kinkos (literally, 4 blocks from our house) to make all the copies. I used their cream cardstock that they had available at the store. For a small additional fee, they even cut the invitations apart for me.
Next I purchased these materials at Michael’s to add all the finishing touches
[stamp, distress ink – ink pad, rounded paper cutter]
My husband [then fiancé] helped me cut all the rounded edges for each paper and then rub all the edges of each invitation and details sheets of paper (both front and back) with the vintage stamp.
Punching all the rounded edges in each paper took a long time, and my fingers did get soar. I highly recommend having a few friends assist with this process (buy multiple supplies) or allow enough time to cut and stamp over a few days (rather than a few hours).
[photo via Heather Bee Photography]
I purchased the same orange silk ribbon that was on our STD’s and used it to tie the invitation and details sheet together.
Since I did not want to handwrite all the addresses o our guests, I typed them up and printed labels on our home printer. This cost us only about $5.00 (which was to purchase the labels)
We stuck all the labels on the envelopes, stamped them, and stuff all 150 envelopes (this part took a few hours and we actually had a little help from a few friends).
To maintain the connection between our invitations and STDs, Stephanie from Sunshine and Ravioli was able to print the same return address labels for our invitations as she used for our STDs (I didn’t mind paying a little extra for this small detail).
After all was said and done, our final invitations turned out like this:
Thanks so much Katie for sharing your DIY Travel Themed Wedding Invitations – they came out SO COOL! Let us know if you make your own wedding invitations, we would love to share them!








7 comments
These are really cute! Love it!!!
Love this idea!! Too cute!